Prep time: 3 hours | Cook time: ~1 hour | Total time: ~4 hours
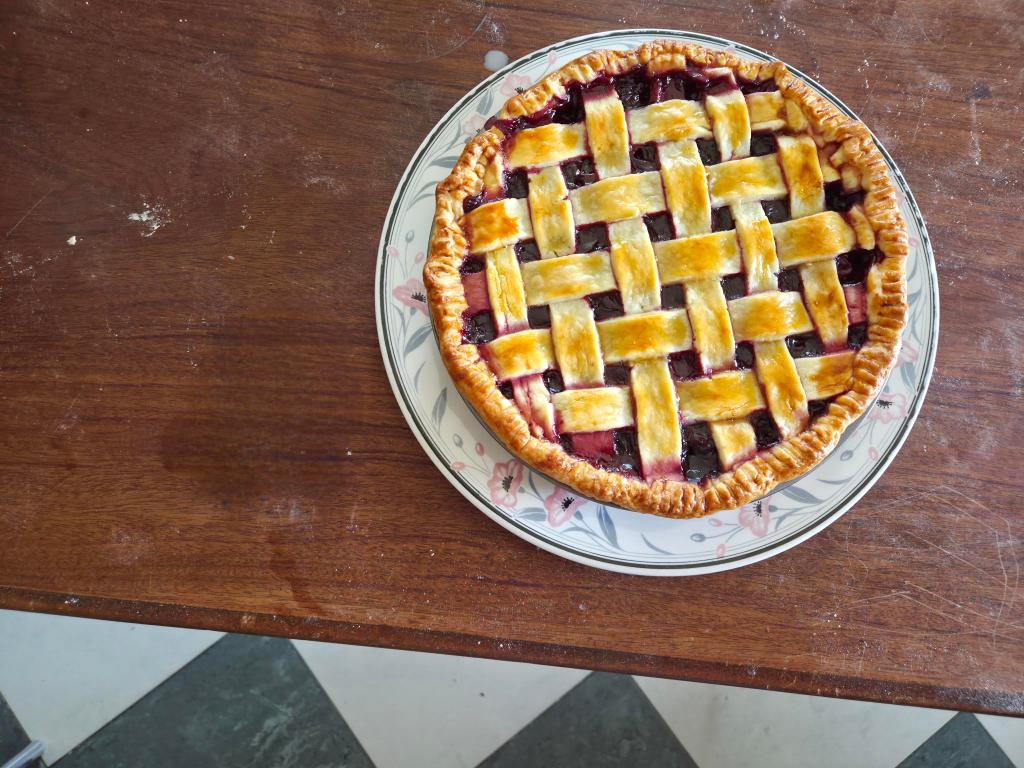
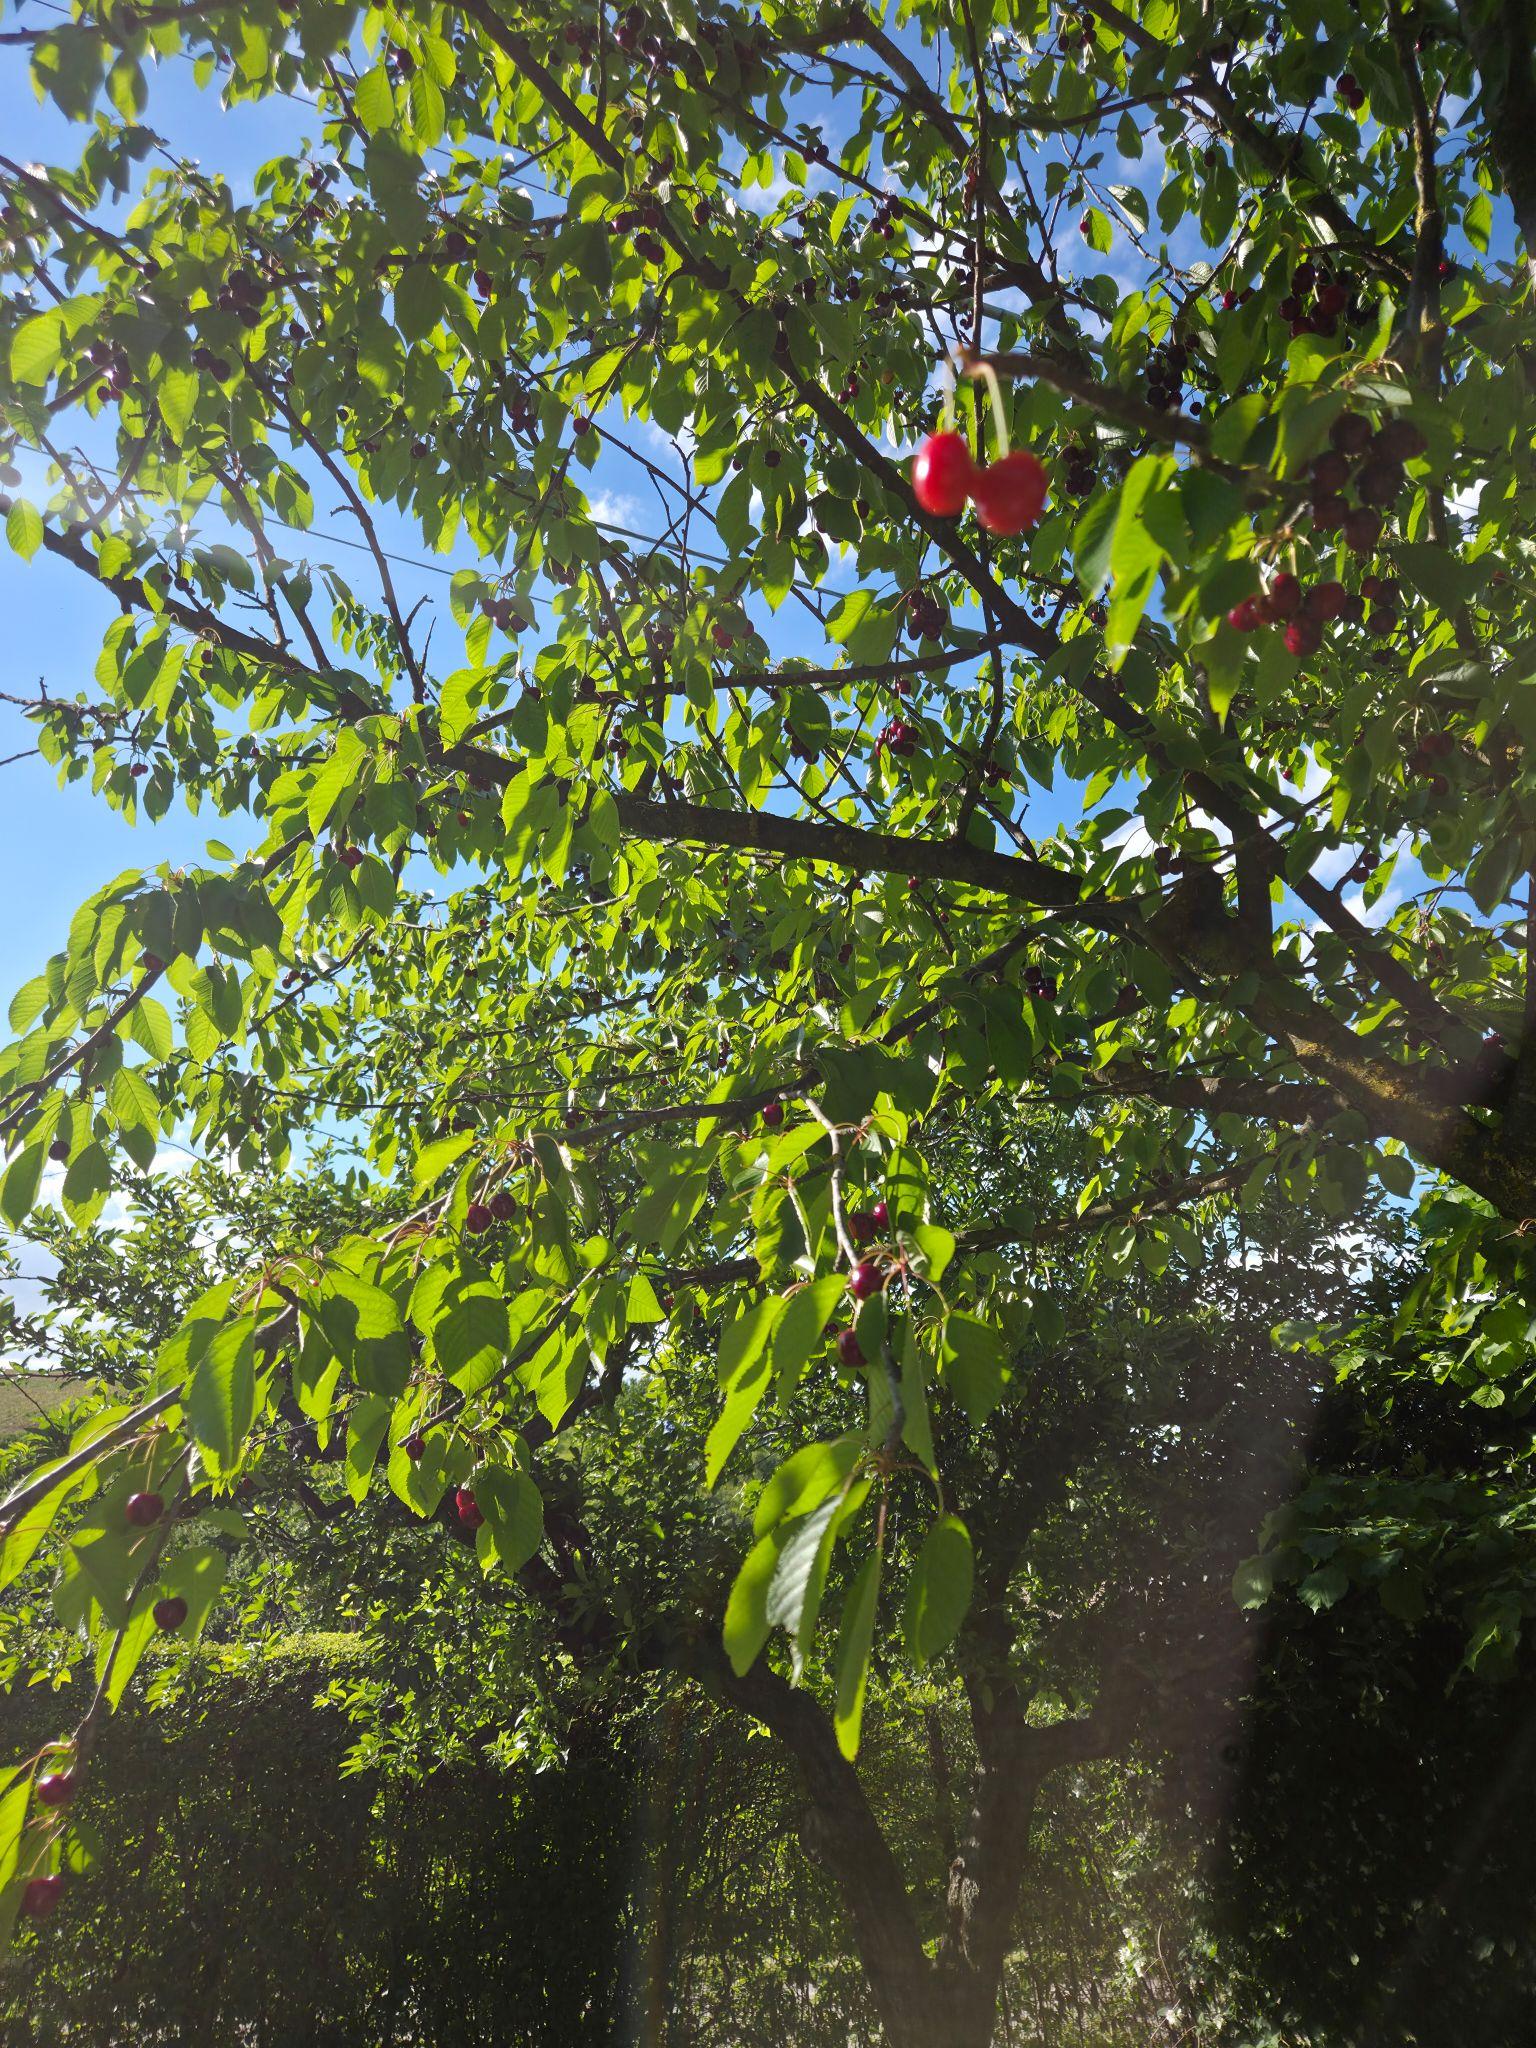
This was such a special recipe for many reasons. Firstly, it was Tony’s 30th birthday, and we were in Italy visiting our family. Secondly, we actually picked fresh cherries from our Italian family’s orchard. And thirdly, this was the first “real” pie I ever made, in the sense that I took the time to make a lattice pie crust and crimp the edges. I hope you enjoy making the pie as much as I did!
I N G R E D I E N T S
- Pie crust* – must be refrigerated for at least 2 hours before using
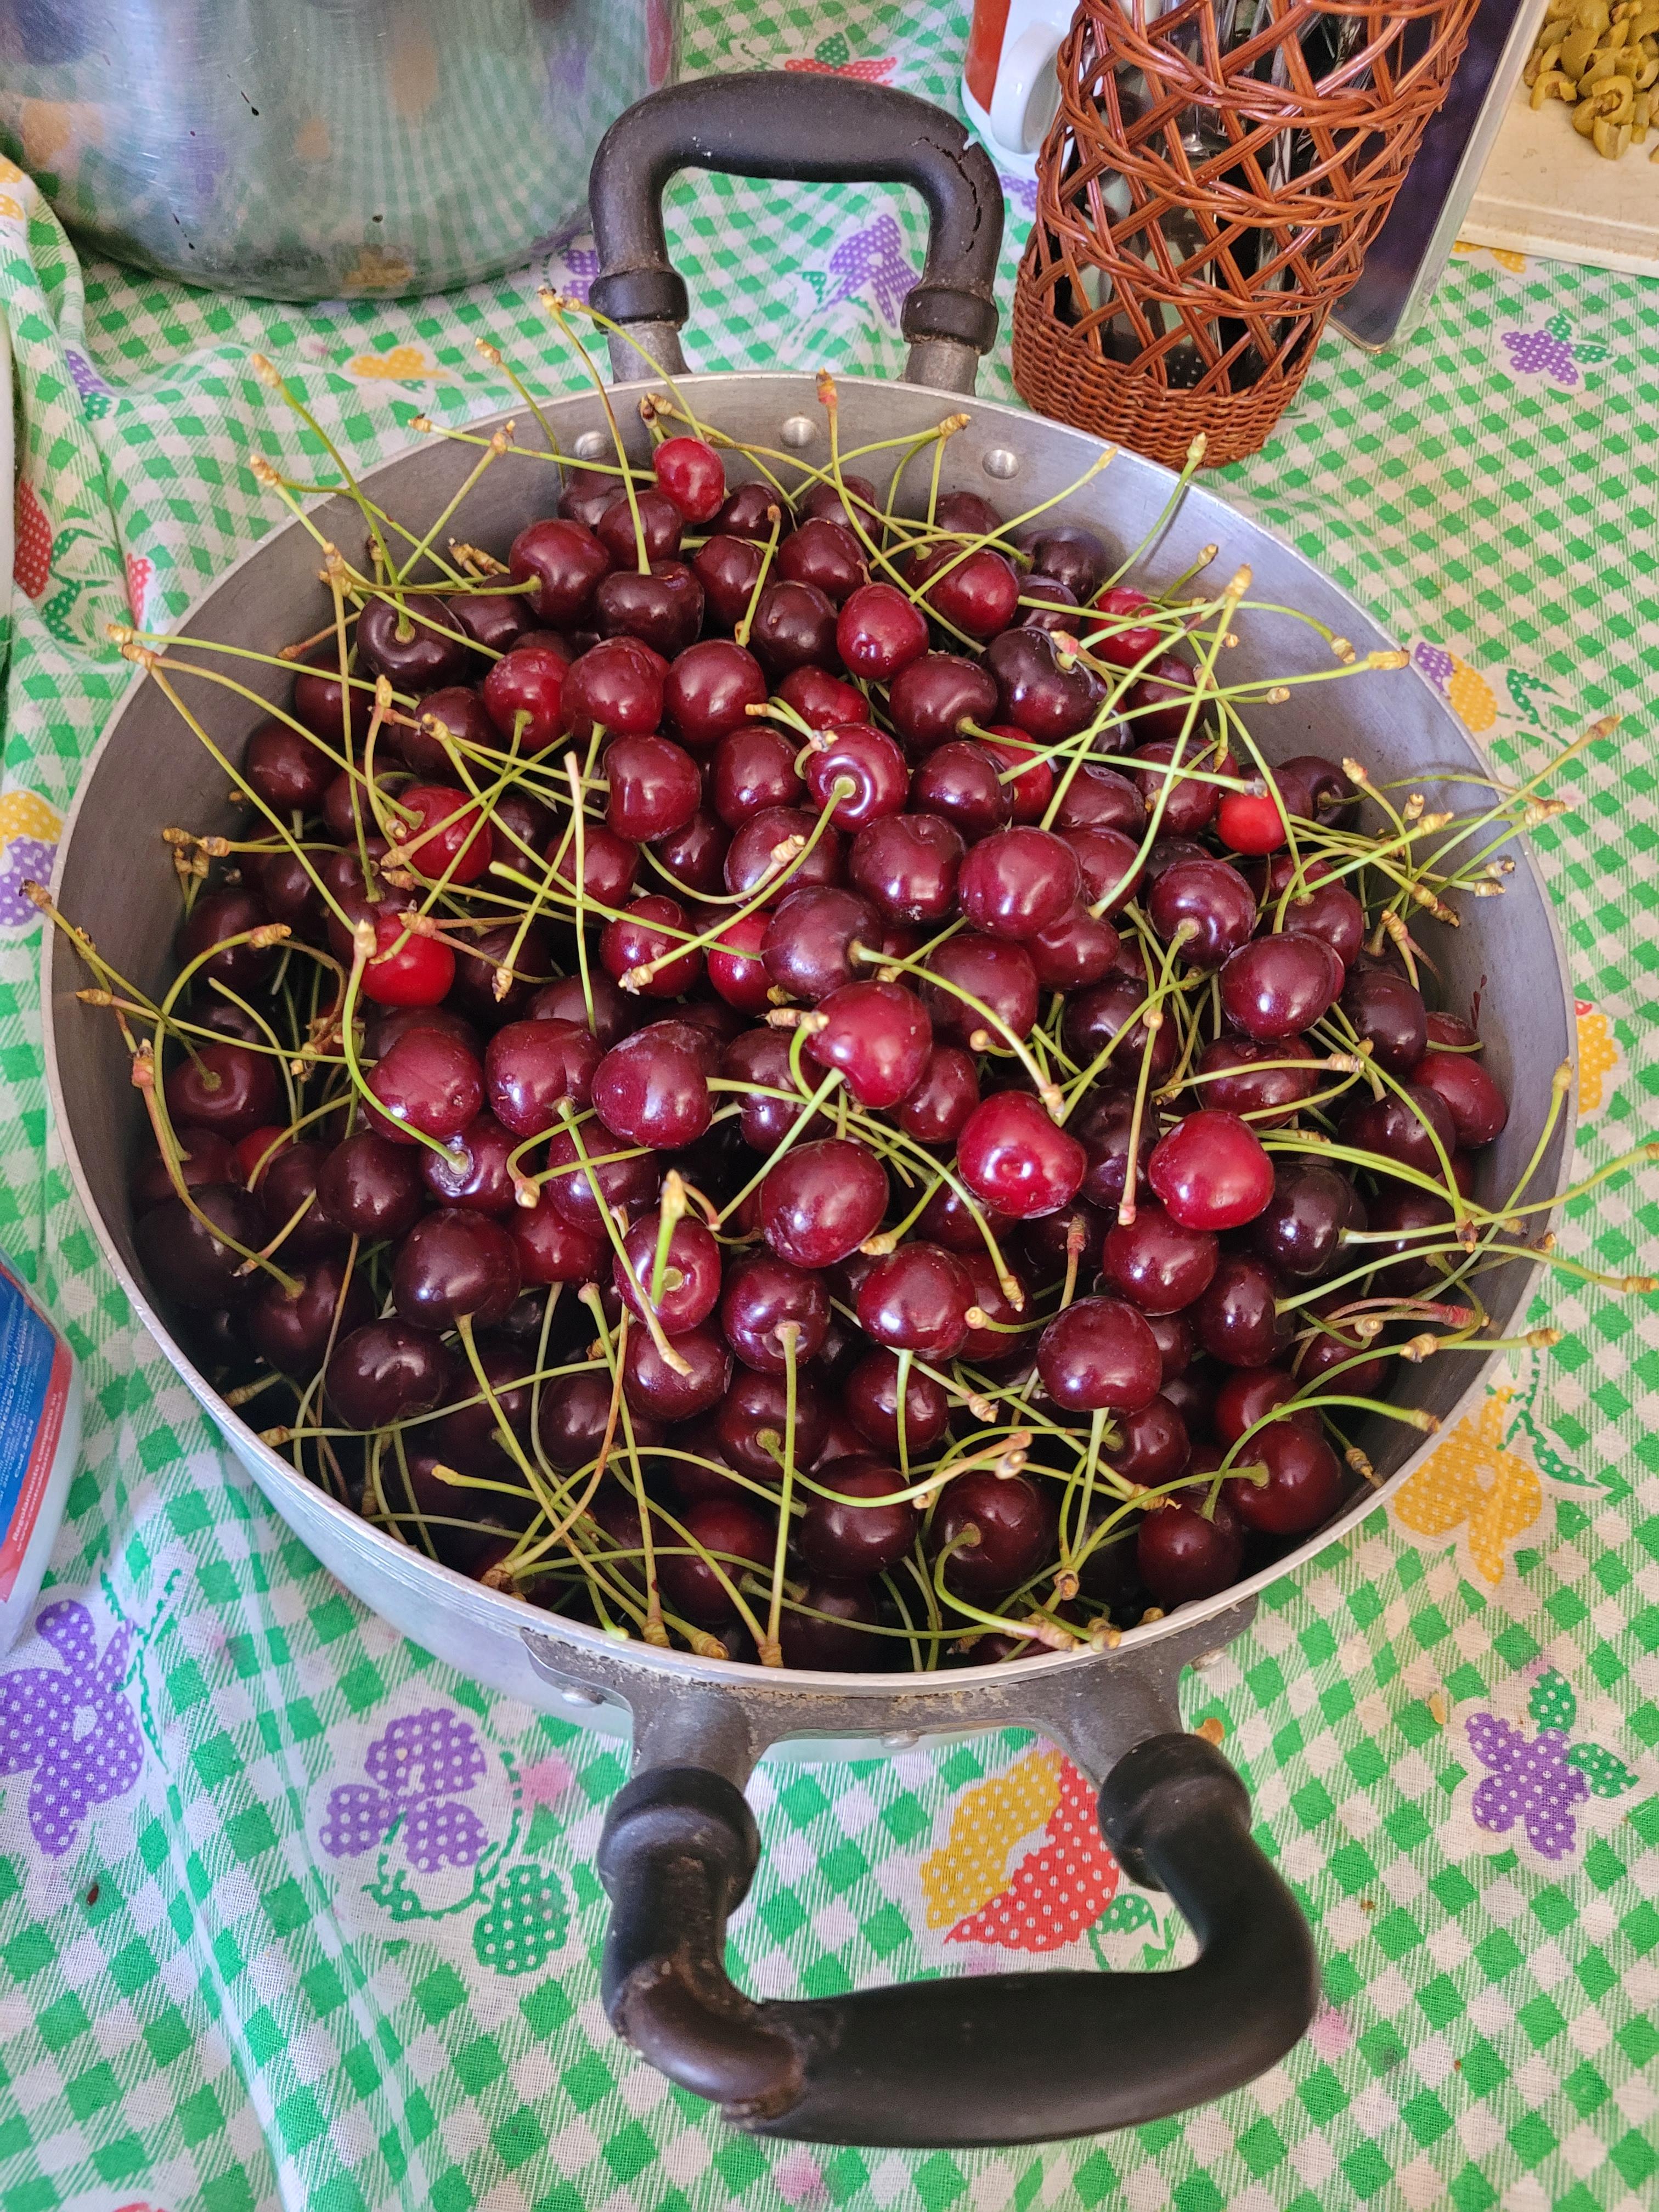
- 4 1/2 cups pitted cherries
- 2/3 cup granulated sugar
- 1/4 cup cornstarch
- 1 tablespoon fresh lemon juice – Tony picked a fresh lemon during our hike in Cinque Terre
- 1 teaspoon vanilla extract
- 1 egg
- 1 tablespoon of milk
*note on the pie crust: for this recipe, I used two packs of pre-made dough from an Italian grocery store (which turned out to be SO good), but you can definitely make your pie crust from scratch – my go-to recipe is Ricardo’s Basic Shortcrust Pastry
R E C I P E
- In a large bowl, stir together the cherries, sugar, cornstarch, lemon juice, and vanilla extract
- Cover the filling with plastic wrap and refrigerate while you prepare the pie dough (or up to 24 hours)
- Place the dough into a 9-inch pie dish and tuck the sides with your fingers to have a smooth base and sides (if using homemade dough, roll out the chilled dough on a floured surface until you have at least 12-inches in diameter)
- Remove the filling from the fridge. Using a slotted spoon, place the cherries into the crust. Keep the juice in the bowl!
- In a small saucepan, place the leftover juice and cook over low heat until the juice is slightly thickened (~4 minutes). Cool for ~5 minutes then pour over the cherries in the pie crust.
- With the second pie crust you can make the lattice design; I used this helpful guide and video tutorial from Sally’s Baking on How to Lattice Pie Crust
- Once the strips of dough are placed to make the lattice, press each strip into the pie crust along the edges to seal. Then use kitchen scissors to trim off the excess dough hanging off the side of the pie dish. Again I used a guide and video tutorial from Sally’s Baking for How to Crimp Pie Crust to make the pie extra fancy
- In a small bowl, mix together the egg and milk to make egg wash
- Lightly brush the pie crust with egg wash and place the pie in the refridgerator while your oven preheats
- Preheat the oven to 400°F (204°C). Bake for 20 minutes. After, reduce the temperature to 375°F (190°C) and bake for 30-40 more minutes. Take the pie out when the crust is golden brown and the juices have been bubbling through the lattice for at least 5 minutes
- Let the pie cool for at least 2-3 hours before slicing and serving
T I P S
- The cherries I used were quite small, but if you have larger cherries I recommend cutting them in halves or quarters first
- Get some helpers for this recipe, because there are so many time-consuming steps! Special thank you to my family who picked all the cherries from the trees and to my mom, who removed all the cherry pits for me
I won’t lie, this recipe was a lot of work and took a lot of time. You definitely need to plan ahead in terms of when you want to serve the pie, since there are so many steps that involve fridging and cooling before you can even make or eat it. But I can say that if you want to make something very special, and if you love pie (and cherries), then it is so worth it! Everyone was so impressed, and I received a lot of comments saying they thought it was bought from a local bakery and could not believe it was homemade. And what’s great is that you can use the same basic steps and techniques from recipe with other fruits or fillings!


Leave a Reply